
Now Reading: Proxmox VE Upgrade: From 7.x to 8.3
-
01
Proxmox VE Upgrade: From 7.x to 8.3
Proxmox VE: Upgrade and VMware Migration Guide
Proxmox Virtual Environment (VE) is a powerful and open-source platform for managing virtualization environments. In this article, we’ll walk you through how to upgrade Proxmox VE and migrate virtual machines (VMs) from VMware ESXi to Proxmox VE. Additionally, we’ll cover how to handle configuration file prompts during the upgrade process.
Proxmox VE Upgrade: From 7.x to 8.3
Upgrading Proxmox VE to a newer version improves system performance, security, and grants access to new features. Here’s a step-by-step guide for upgrading from 7.x to 8.3:
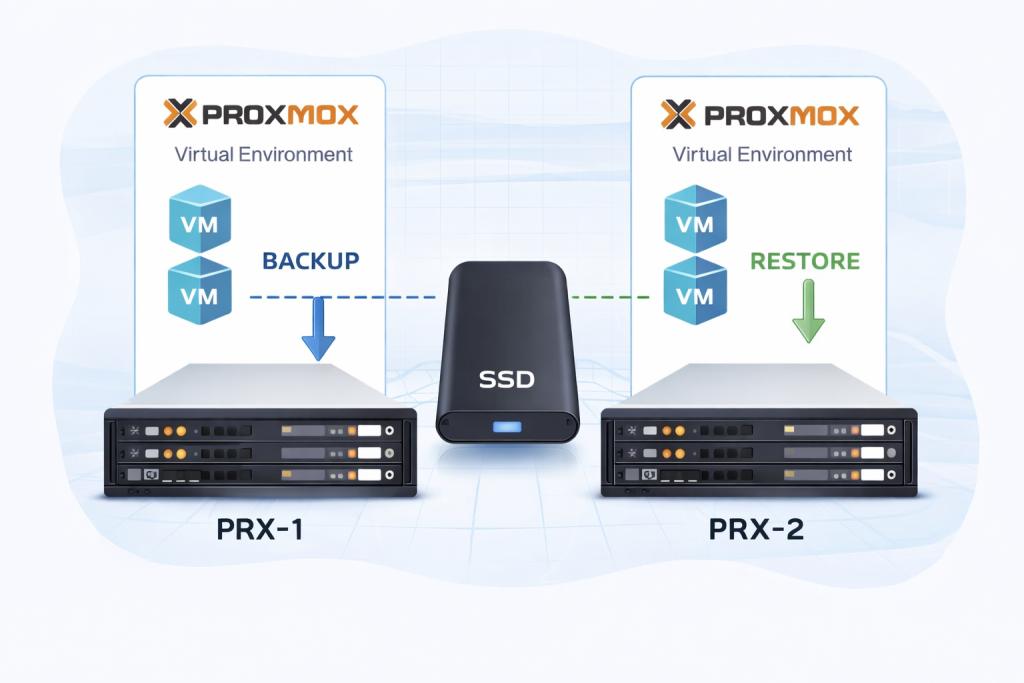
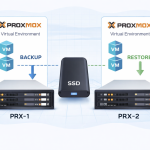
Step 1: Take a Full Backup
Before upgrading, ensure you take a complete backup of your Proxmox VE server. This backup should include:
- All VMs and containers.
- Configuration files (e.g.,
/etc/pve,/etc/network/interfaces, etc.). - Storage and disk state.
You can use Proxmox’s Backup feature for this.
Step 2: Check System Requirements
Ensure your system meets the requirements for Proxmox VE 8.x:
- 64-bit Processor: Ensure your server is 64-bit capable.
- Debian 12 Compatibility: Verify that all repositories and installed software are compatible with Debian 12.
- Storage and Disk Space: Check for sufficient free disk space:
df -h
Step 3: Update Packages
Update your current Proxmox VE 7.x system to the latest available version:
apt update && apt full-upgrade
Reboot the server afterward:
reboot
Step 4: Update Repositories
Configure the repositories for Proxmox VE 8.x.
1. Remove Old Repositories:
Clean up old repository files with the following command:
rm -rf /etc/apt/sources.list.d/*
2. Add New Repositories:
Add the appropriate repository for your system:
Community Repository (No Subscription):
echo "deb http://download.proxmox.com/debian/pve bookworm pve-no-subscription" > /etc/apt/sources.list.d/pve-no-subscription.list
Enterprise Repository:
If you have a subscription, use the following:
echo "deb https://enterprise.proxmox.com/debian/pve bookworm pve-enterprise" > /etc/apt/sources.list.d/pve-enterprise.list
Update the repository list:
apt update
Step 5: Pre-Upgrade Compatibility Check
Proxmox provides a tool to verify upgrade readiness. Run this command to check for compatibility issues:
pve7to8 --full
This command will identify incompatible packages, configuration errors, or other potential issues. Carefully review the output and address any problems.
Step 6: Start the Upgrade Process
- Begin the upgrade process by running:
apt update && apt dist-upgrade - During package installation, you may encounter configuration file prompts.
Handling Configuration File Prompts
During the upgrade, you might see a prompt like this:
Configuration file '/path/to/config_file'
 ==> File on system created by you or by a script.
 ==> File also in package provided by package maintainer.
What would you like to do about it?
Options:
- Keep the local version currently installed (N): Retains the current file. Use this if you’ve made customizations.
- Install the package maintainer’s version (Y): Installs the new default file. Recommended if you haven’t modified the file.
- Show differences (D) or side-by-side (Z): Shows differences between the files.
- Do a three-way merge (M): Allows you to merge changes.
General Recommendations:
- If no customizations have been made, install the new version (Y).
- If you’ve customized the file, review the differences (D/Z) and either merge changes or keep the local version (N).
Step 7: Reboot the Server
After completing the upgrade, reboot the server:
reboot
Step 8: Verify the Upgrade
Check if the upgrade was successful by verifying the Proxmox VE version:
pveversion
Ensure the output shows version 8.3.
Migrating VMs from VMware ESXi to Proxmox VE
If you’re transitioning from VMware to Proxmox VE, the Import Wizard simplifies this process. Follow these steps to migrate your VMs:
- Prepare the VM on VMware:
- Shut down the VM.
- Remove snapshots and ensure disks are “flattened.”
- Access the Import Wizard on Proxmox:
- Log in to the Proxmox Web interface.
- Open the Import VM wizard.
- Connect to VMware ESXi:
- Enter the VMware ESXi server’s IP address and credentials.
- Select the VM to migrate.
- Configure Storage and Networking:
- Choose the storage where the VM will reside on Proxmox.
- Adjust networking settings to align with Proxmox.
- Start the Migration Process:
- Start the import. Once completed, test the VM on Proxmox to ensure it’s working correctly.
Conclusion
In this guide, we covered how to upgrade Proxmox VE from 7.x to 8.3 and how to migrate VMs from VMware ESXi to Proxmox VE. Handling configuration file prompts carefully during the upgrade ensures a smooth transition. Proxmox VE’s robust features make managing your virtualization environment more efficient. If you have questions or face challenges, feel free to reach out! 😊
Related Posts

Stay Informed With the Latest & Most Important News
Previous Post
Next Post


Reklam