

Now Reading: Access Proxmox via Cloudflare Tunnel Without Static IP
-
01
Access Proxmox via Cloudflare Tunnel Without Static IP
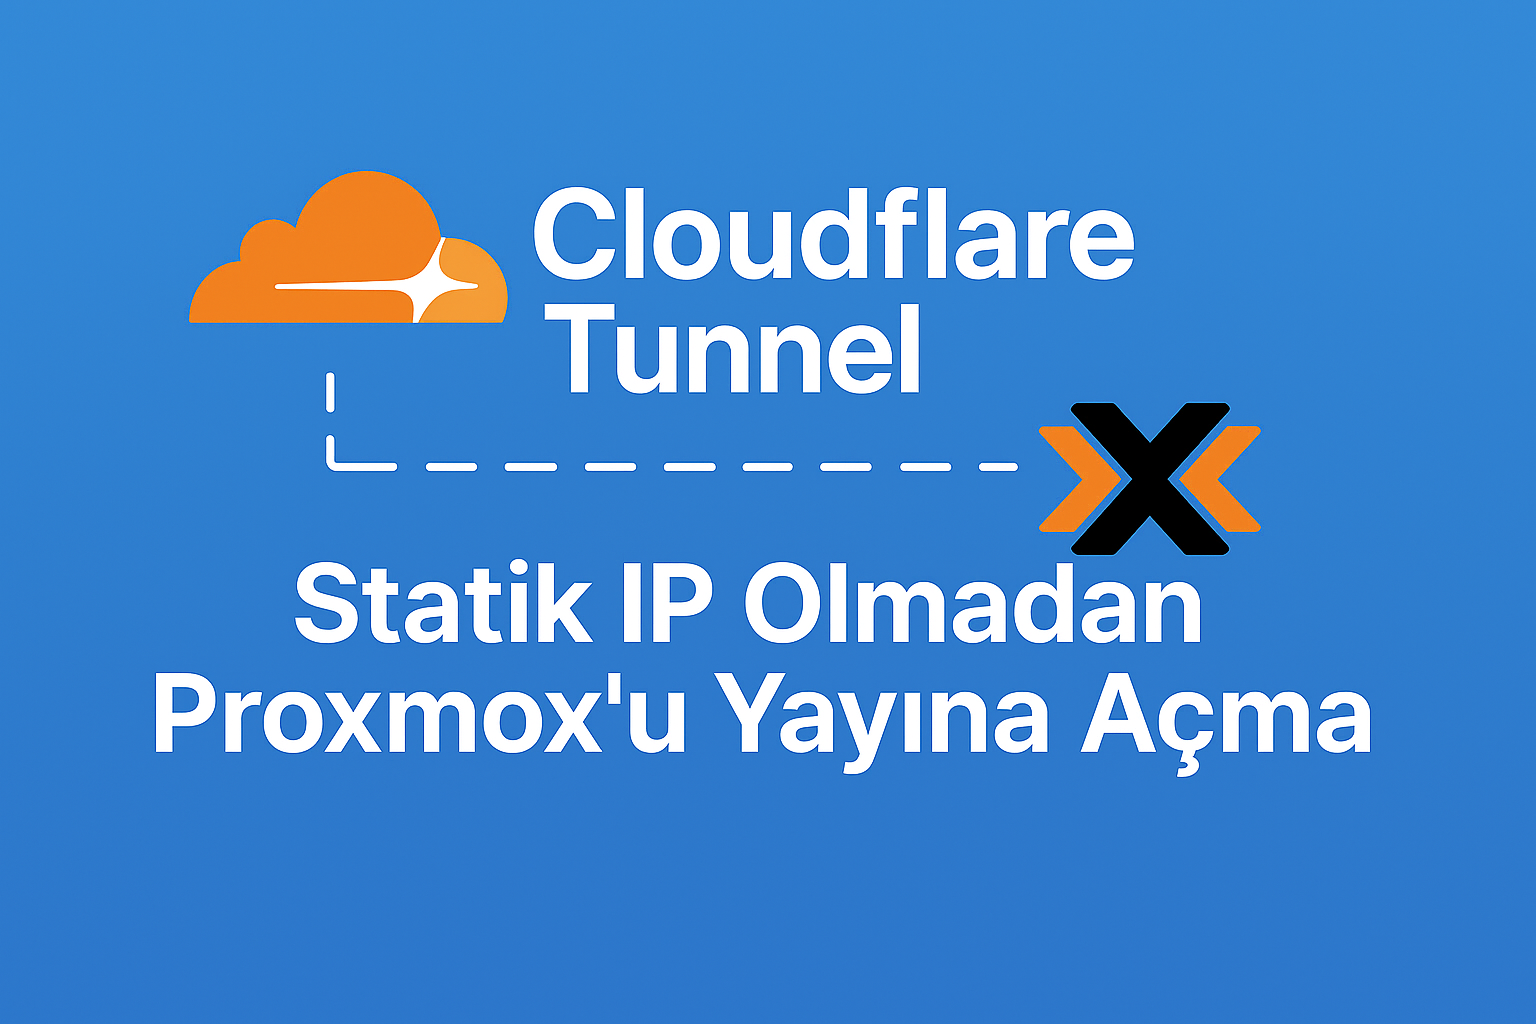
Access Proxmox via Cloudflare Tunnel Without Static IP
Introduction
To make a server accessible over the internet, a static IP is usually required. Many ISPs, however, use CGNAT with dynamic IPs, making port forwarding impossible.
Solution: With Cloudflare Tunnel (Argo Tunnel), you can securely expose Proxmox and other services without static IP or open ports.
Requirements
- Cloudflare account (free plan)
- Domain managed on Cloudflare (e.g.,
example.com) - Root access to your Debian/Proxmox server
Step 1: Install Cloudflared
wget https://github.com/cloudflare/cloudflared/releases/latest/download/cloudflared-linux-amd64.deb -O /tmp/cloudflared.deb
apt install /tmp/cloudflared.deb -y
cloudflared --version
Step 2: Login to Cloudflare
cloudflared tunnel loginBrowser opens → Login → Select domain. File /root/.cloudflared/cert.pem will be created.
Step 3: Create Tunnel
cloudflared tunnel create proxmox-tunnelExample UUID: 11111111-2222-3333-4444-555555555555
Step 4: Add DNS Record
cloudflared tunnel route dns 11111111-2222-3333-4444-555555555555 pve.example.comStep 5: Config File
tunnel: 11111111-2222-3333-4444-555555555555
credentials-file: /root/.cloudflared/11111111-2222-3333-4444-555555555555.json

ingress:
  - hostname: pve.example.com
    service: https://127.0.0.1:8006
    originRequest:
      noTLSVerify: true
  - service: http_status:404
Step 6: Start Service
cloudflared service install
systemctl enable cloudflared
systemctl start cloudflared
Step 7: Test
Visit https://pve.example.com to access Proxmox.
Step 8: Publish Multiple Services
ingress:
  - hostname: pve.example.com
    service: https://127.0.0.1:8006
    originRequest:
      noTLSVerify: true
  - hostname: mail.example.com
    service: https://127.0.0.1:8443
    originRequest:
      noTLSVerify: true
  - hostname: erp.example.com
    service: http://127.0.0.1:8080
  - hostname: qms.example.com
    service: http://127.0.0.1:8081
  - hostname: backup.example.com
    service: https://127.0.0.1:8007
    originRequest:
      noTLSVerify: true
  - service: http_status:404
🔒 Step 9: Zero Trust Security
- Restrict access to specific email addresses
- Enable login via Google/Microsoft accounts
- Add two-factor authentication (2FA)
FAQ
Q: Can I access without static IP?
A: Yes, even behind CGNAT.
Q: Do I need to open ports?
A: No, Cloudflare Tunnel initiates the outbound connection.
Q: What if I get SSL errors?
A: Add noTLSVerify: true in config.
Conclusion
With Cloudflare Tunnel, you can securely publish Proxmox and other services without static IP, even if you are behind CGNAT 🚀
Stay Informed With the Latest & Most Important News
Previous Post
Next Post


Reklam