

Now Reading: Mailcow Dockerized Update Guide
-
01
Mailcow Dockerized Update Guide
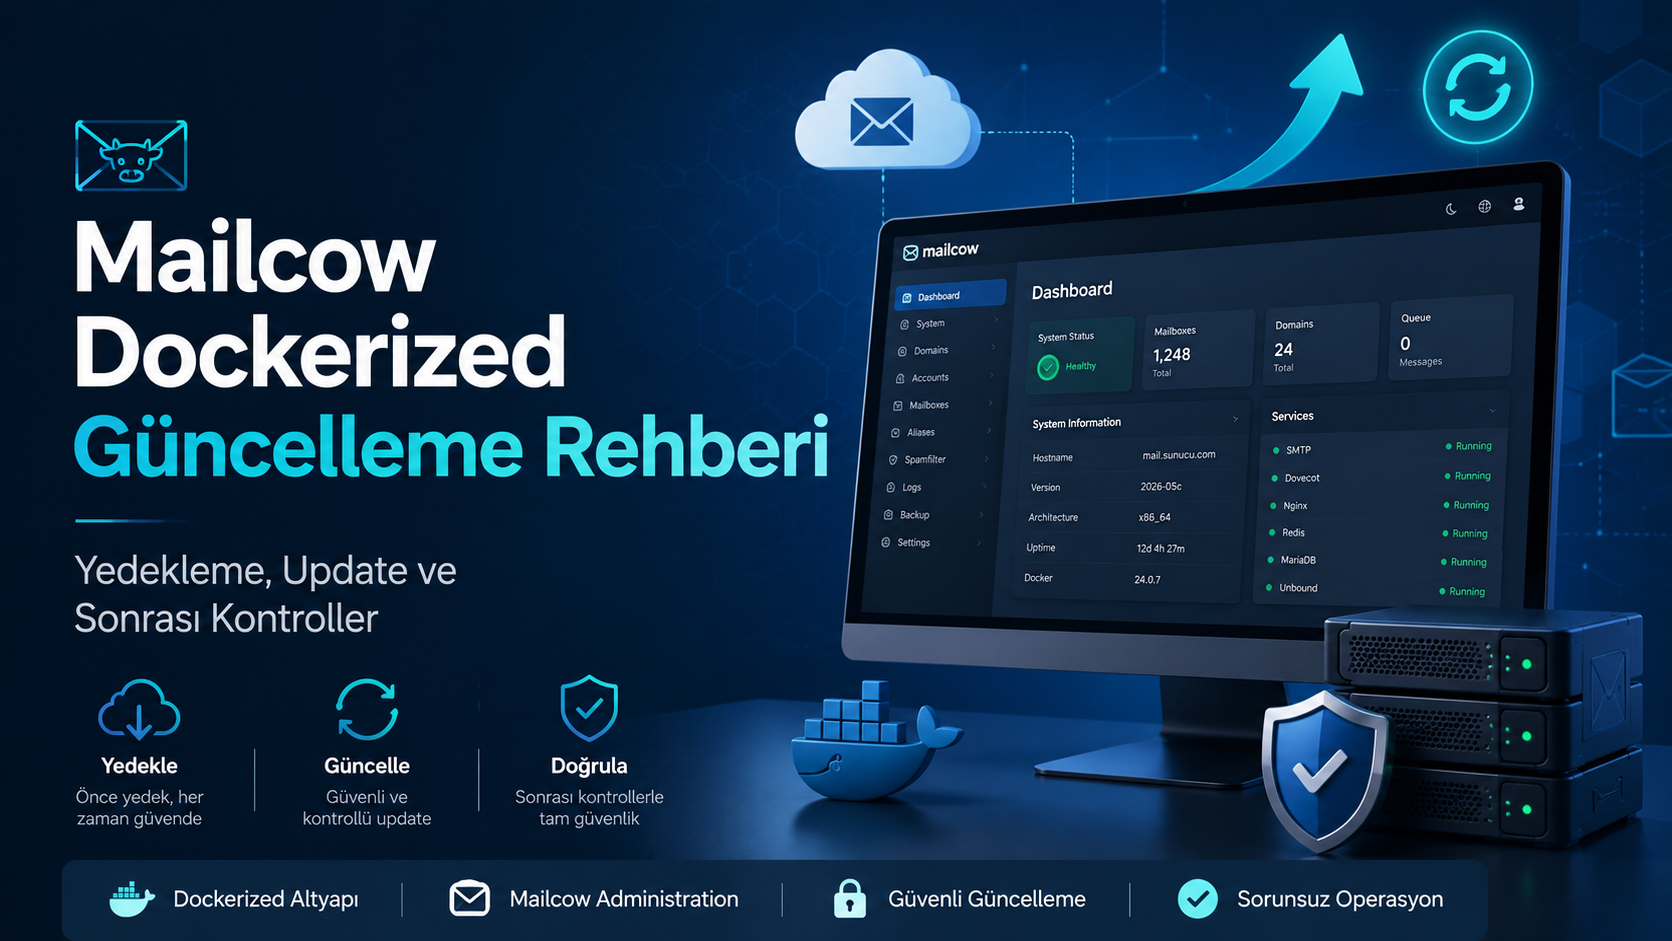
Mailcow Dockerized Update Guide
Mailcow Dockerized is a powerful open-source mail server solution that runs on Docker. Keeping Mailcow up to date is important for system security, bug fixes, stability improvements, and new features.
In this article, we will explain step by step how to safely update a Mailcow Dockerized installation.
Checking the Current Version
After logging in to the Mailcow admin panel, you can see the current version information on the dashboard.
For example, you may see a message similar to the following:
Version: 2026-03b
An update is available: 2026-05c
This means that your system is running an older Mailcow version and a newer version is available.
1. Connect to the Server via SSH
First, connect to the server where Mailcow is installed:
ssh [email protected]
Then go to the Mailcow installation directory:
cd /opt/mailcow-dockerized
To verify that you are in the correct directory, run:
ls
You should see files and folders such as:
docker-compose.yml
mailcow.conf
update.sh
helper-scripts
data
2. Take a Backup Before Updating
Before starting the update process, you should always take a backup. Mailcow includes its own backup script.
You can create a full backup with the following command:
./helper-scripts/backup_and_restore.sh backup all --delete-days 3
When the command runs, it will ask for the backup location:
Backup location (absolute path, starting with /):
You can enter a path such as:
/opt/mailcow-backup
If the folder does not exist, you can create it first:
mkdir -p /opt/mailcow-backup
Then run the backup command again:
./helper-scripts/backup_and_restore.sh backup all --delete-days 3
After the backup is completed, verify that the backup files have been created:
ls -lh /opt/mailcow-backup
3. Check Disk Usage
During the update process, new Docker images will be downloaded. For this reason, you should make sure that there is enough free disk space.
Check disk usage with:
df -h
Pay special attention to the partition where Mailcow is installed, usually / or /opt.
4. Check the Current Container Status
Before starting the update, it is useful to check the current status of Mailcow containers:
docker compose ps
Most containers should be in running or healthy state.
5. Start the Mailcow Update
After completing the backup and pre-checks, start the update process:
cd /opt/mailcow-dockerized
./update.sh
The update script will perform the required checks, download new files and images, and update the containers.
During the process, you may be asked for confirmation. In most cases, you can continue by typing:
Continue? [y/N] y
Mail services may be temporarily interrupted during the update. For this reason, it is recommended to perform the update during a low-traffic period or outside business hours.
6. Post-Update Checks
After the update is completed, check the container status again:
docker compose ps
To review the logs, run:
docker compose logs --tail=100
You can also check specific important services:
docker compose logs --tail=100 nginx-mailcow
docker compose logs --tail=100 postfix-mailcow
docker compose logs --tail=100 dovecot-mailcow
docker compose logs --tail=100 mysql-mailcow
If there are no critical errors in these services, the system is likely running properly.
7. Check the Mail Queue
After the update, check whether there are any pending messages in the mail queue:
docker compose exec postfix-mailcow postqueue -p
If the queue is empty, you should see an output similar to:
Mail queue is empty
8. Verify the Version from the Web Panel
Log in to the Mailcow admin panel again from your browser:
https://mail.domain.com/admin
On the dashboard, confirm that the new version is displayed.
For example:
Version: 2026-05c
If the new version appears, the update has been completed successfully.
9. Test Sending and Receiving Emails
Finally, you should test that the mail system is working correctly.
Recommended checks:
- Send an email from an internal mailbox to an external address
- Send an email from an external address to an internal mailbox
- Check webmail access
- Check Outlook or mobile device connections
- Review the spam and quarantine sections
- Check whether any messages are stuck in the queue
10. Clean Up Old Docker Images
After confirming that the system is working properly for a few hours or preferably one day, you can remove unused old Docker images:
docker image prune
This command removes unused Docker images and helps free up disk space.
Avoid using more aggressive cleanup commands unless you are sure what they will remove. Incorrect cleanup operations may affect running services.
Summary Commands
The following commands summarize the basic Mailcow update process:
cd /opt/mailcow-dockerized

mkdir -p /opt/mailcow-backup

./helper-scripts/backup_and_restore.sh backup all --delete-days 3

ls -lh /opt/mailcow-backup

df -h

docker compose ps

./update.sh

docker compose ps

docker compose logs --tail=100
Conclusion
Updating Mailcow Dockerized is a safe and straightforward process when the correct steps are followed. However, since mail servers are critical systems, it is very important to take a backup before updating, check disk usage, and perform mail sending and receiving tests after the update.
In production environments, it is strongly recommended to schedule the update outside business hours and, if possible, take a snapshot from the virtualization platform before starting the update.
Related Posts
Stay Informed With the Latest & Most Important News
Previous Post
Next Post


Reklam